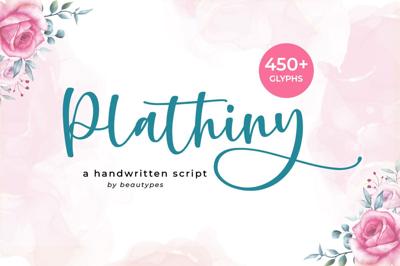
A Guide to Using Free Fonts on Your WordPress Website
A Guide to Using Free Fonts on Your WordPress Website
Choosing the right fonts for your WordPress site can greatly enhance its visual appeal and user experience. Free fonts provide an affordable way to customize your site’s design, but implementing them correctly is key to maintaining performance and aesthetics. Here’s a comprehensive guide to using free fonts on your WordPress site.
1. Why Use Free Fonts?
- Cost-Effective: No licensing fees for personal or commercial use (check individual licenses).
- Variety: Access to thousands of fonts to suit different design styles.
- Customization: Helps establish your brand identity.
2. Sources for Free Fonts
- Google Fonts: A widely-used library of open-source fonts optimized for web use.
- Font Squirrel: Offers free fonts with clear commercial licenses.
- DaFont: Features a mix of personal-use and commercial-use fonts (check licenses).
3. Methods to Add Free Fonts to WordPress
Using a WordPress Plugin
Plugins make it easy to integrate free fonts into your website without coding. Popular options include:
- Google Fonts Typography: Simplifies adding and customizing Google Fonts.
- Easy Google Fonts: Allows font changes directly from the WordPress Customizer.
- Custom Fonts: Supports uploading your own font files.
Adding Fonts via Theme Customizer
- Go to Appearance > Customize in your WordPress dashboard.
- Look for typography or font settings in your theme options.
- Choose and apply a free font from available selections.
Manually Adding Fonts
For more control, you can manually add fonts by editing your site’s code:
-
Get the Font Link:
- Visit Google Fonts, select a font, and copy the embed link.
-
Edit Your Theme’s
functions.phpFile:function add_google_fonts() { wp_enqueue_style('google-fonts', 'https://fonts.googleapis.com/css2?family=Roboto:wght@400;700&display=swap', false); } add_action('wp_enqueue_scripts', 'add_google_fonts'); -
Apply the Font via CSS:
body { font-family: 'Roboto', sans-serif; } -
Save and refresh your site to see the changes.
Uploading Custom Font Files
- Convert the font to web-safe formats (WOFF, WOFF2) using tools like FontSquirrel.
- Upload the font files to your WordPress Media Library or a specific folder.
- Add the font to your CSS:
@font-face {
    font-family: 'CustomFont';
    src: url('path-to-font-file.woff2') format('woff2');
}

h1, h2, h3 {
    font-family: 'CustomFont', sans-serif;
}
4. Best Practices for Font Integration
-
Optimize for Performance:
- Use only the font weights and styles you need.
- Utilize web-safe formats (WOFF2) for faster loading.
-
Check for Compatibility:
- Test how the font displays on different devices and browsers.
-
Prioritize Readability:
- Avoid overly decorative fonts for body text.
5. Troubleshooting Font Issues
- Fonts Not Loading: Check for typos in the font URL or CSS.
- Slow Load Times: Reduce the number of font weights or host the fonts locally.
- Inconsistent Display: Use fallbacks in your CSS, like:
font-family: 'CustomFont', Arial, sans-serif;
Conclusion
Integrating free fonts into your WordPress site is a straightforward process that can elevate your design. Whether you use plugins, the Customizer, or manual coding, the key is to balance aesthetics with performance. Experiment with different fonts to find the perfect match for your site’s style. Have a favorite free font or method for font integration? Share your tips in the comments below!


